Free Content Schedule and URL Builder for Google Sheets

For bloggers and content publishers, you already know by now that maintaining a regular content schedule is the key to having a successful blog. I should know. I’ve never been able to maintain a consistent schedule, which is why my blog traffic really sucks right now. This is where the content schedule becomes essential.

Download It

When you click on the download link, the content schedule template will open in a new window.

Download the Free Content Schedule for Google Sheets

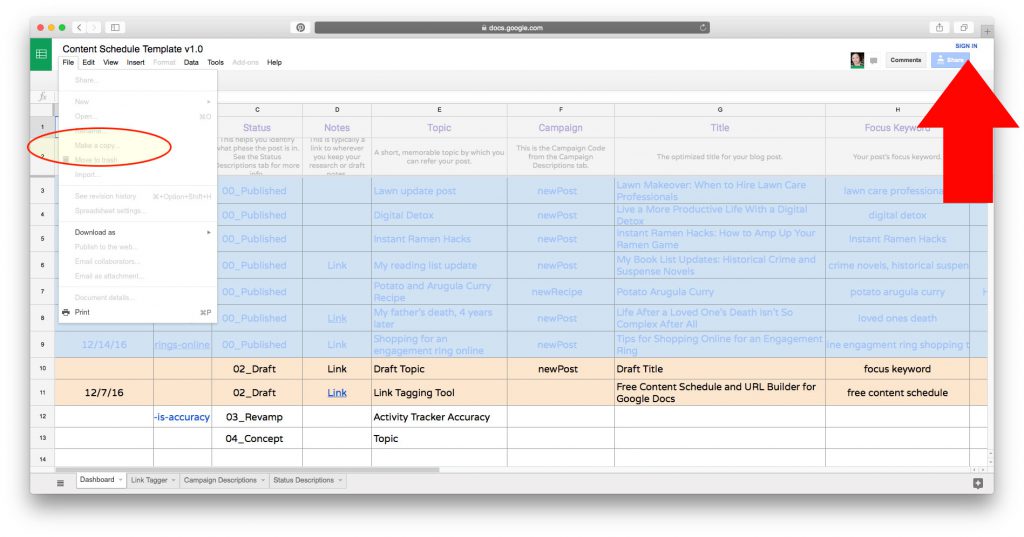
You’ll have to make a copy of it into your own Google Drive account in order to start using it. To do that, you’ll need to sign into your Google account as indicated by the red arrow in the screenshot. Once you’ve logged in, you should be able to fully access the File menu on the left. Make a Copy of the template into your own Google Drive and you’re ready to start working!
Free Content Schedule for Google Sheets

What Is a Content Schedule?

A content schedule, or sometimes also known as a content calendar or publishing calendar, is a calendar that helps you manage your publishing efforts in a timely manner.

There are multiple ways to develop a content schedule. Content schedules can live in spreadsheets, some in databases. Sometimes just a simple paper calendar with a few notes jotted down on it can be effective. It all depends on your needs and how you like to work.

Me? I like to work in spreadsheets because I’m a spreadsheet nerd. Plus spreadsheets can do a lot of cool things like calculate numbers and concatenate (one of my favorite words) stuff to automatically generate a desired output.

Why I Use Google Docs for a Content Schedule?

For me it was a personal preference. I’m an avid Gmail and Google Docs user. I also use iCloud and Dropbox as well. However, because I wanted something that a larger audience could use, I figured Google Docs would be better just because I assume almost everyone has a Google account.

So making this accessible to a wider audience was one goal. Making this accessible from any device with an Internet connection was another goal.

You can typically edit any Word or Spreadsheet doc from any device. Google has apps for both Android and iOS. And although one wouldn’t really want to copy and paste URLs into spreadsheets on their smartphones, this setup at least makes it possible in a pinch.

How do I use it?

Here’s an overview of how the content schedule is laid out. The Dashboard tab is basically where all your blog ideas get tracked and turned into content. As you get an idea for a blog post, you log it into this tab and fill in as much information as you can.

Below is a table with a description for each column of information.

Column NameDescription
Publish DeadlineDate that the post is set to be published.
Link*The live link or at least the permalink once it goes live.
StatusThis helps you identify what phase the post is in. I’ve setup default statuses in the Status Description tab, but feel free to modify them.
NotesThis is typically Google Doc link where I keep my draft and research notes. I have a template for this document as well, which I may share at a later date. For now you can link this to your own Google Doc, or ignore this column for now.
TopicA short memorable name by which you can call your post.
Campaign*Each post should belong to a campaign. If you don’t want to get too granular with your campaigns, just use the default newPost campaign here. I’ve already built that into the template.
TitleThe optimized title for the post.
Focus KeywordThe keyword you plan on optimizing your post for. This is especially useful if your blog is built in WordPress and you use the WordPress SEO plugin.
CategoryThe blog category that your post gets assigned to.
VideoWill there be a video for this post? Yes or No
Shoot DateDate
Edit DeadlineThis is the deadline for video editing.
YouTube DescriptionThe description that you can copy and paste into the YouTube info page.
Publish LinkThe live link for the video once it’s been published.

(*) = Column names are required.

In my own workflow, I have 5 stages that a post goes through: Concept, Draft, Schedule, Publish, and Re-write. Not all posts have to go through the Re-write stage. That stage is for old posts that need to be refreshed and re-promoted.

Once your post has gone through the various workflow stages and is already published, it’s ready to be promoted. This is where tagging will track your promotion efforts.

To create your tagged URLs, copy and paste your published permalink into the Link column of the Dashboard. Make sure you have the appropriate campaign chosen in the Campaign column. Now click on the Link Tagger tab.

You’ll see some of the information carried over from the Dashboard already: Topic, Link, and Campaign.

You’ll need to fill out the remaining information such as Source, Medium, Content, and Term–basically the columns with a “-” (hyphen) in the cell.

Here’s a quick-and-dirty Google Analytics beginners lesson on campaign tracking (if you’re already a pro, you can skip to the next paragraph). Your Campaign, which we’ve already defined, is basically an overall marketing objective you’re working to achieve – from organic Instagram growth to increase in sales. The Source identifies where the traffic is coming from. The Medium is most often the marketing medium such as “banner”, “email”, or “cpc.” The Content helps you to differentiate between various ads (however, because I don’t do any paid advertising, I use this to identify the post content). The Term column is the paid keyword, but again if you’re only using this to track your organic social media efforts, you can skip this column.

Now you filled out all the proper columns, you can already see the generated URLs on the right. So to use a tagged url on Facebook for example, all you have to do is copy the generated URL under the Facebook column and go to another tab where you’re logged into your Facebook account. Then paste the URL in your status update. After a few seconds, the post will auto populate (as long as you’ve got all the proper open graph data implemented of course–but that’s another lesson).

I think at some point I’ll create a demo video on how to use this, but for now I’ll just leave as is. If you have any questions, post them here. Thanks!
Tips for Shopping for Engagement Rings Online

Getting engaged is one of the happiest and most exciting times for a couple. Every person has different preferences on how engagement ring shopping should go. For us, it went better than we could ever have imagined. So you could read about our story below, or you could just skip to the tips on shopping for engagement rings online here. Continue reading “Tips for Shopping for Engagement Rings Online”

Life After a Loved One’s Death Isn’t So Complex After All

It’s been 4 years since my dad passed away. They say life after a loved one’s death gets easier. Sometimes it does. But I won’t lie, I do have days where I wish he was here.

Life After a Loved One's Death Isn't Complicated After All
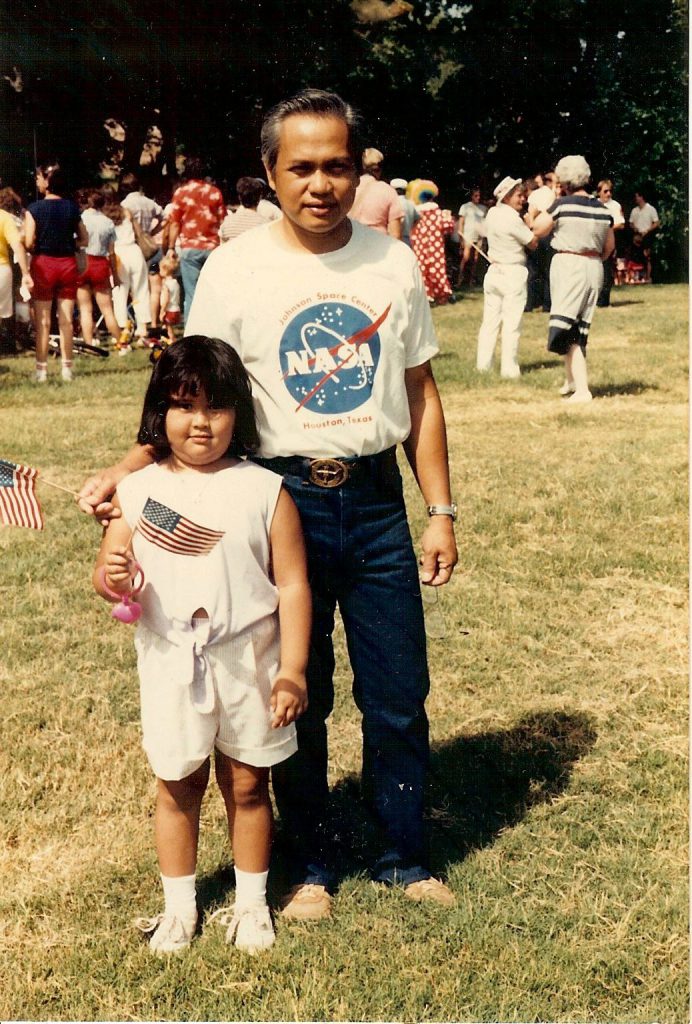
My dad and I at the Founder’s Parade. This was probably 1986 or 1987.

I think most of all, I wish he was here to meet Craig. I know he would’ve loved him as much as I do. They would’ve gotten along so well. I picture my dad’s face lighting up when Craig and I would come over for family dinners, maybe even offering him a beer. They would talk excitedly about going to the gun range the following weekend. And of course my mom would be displeased because Dad would probably take a detour on the way home and buy some new gun Craig would mention.

That’s how I imagine life would be if he were still here.

Last night, we were at my mom’s house for a little family gathering. We get together every year to say a prayer in remembrance of my dad. My aunts, my uncle, and my sisters and brother and their kids were there.

Everyone took turns sharing a fond memory about my dad. It was then that Craig, who normally is a bit shy around large groups of unfamiliar people, spoke up.

I don’t remember exactly what he said verbatim because I was too overcome with emotion to recall. But basically he said that even though he wasn’t fortunate enough to meet my dad when he was alive, he feels like he’s seen the kind of man he was through everyone’s memories of him and that he’s lucky to be marrying into a family like ours. He only wishes he had been here to walk his daughter down the aisle.

I smiled at him and I patted his knee. My heart bursted out of my chest with pride. I always knew that I wanted to marry someone who would understand how much my parents mean to me, whether they’re living or not. Craig fits that role. He understands that. They say everything falls into place when you meet the one you’re supposed to be with. We are living proof.

I took this photo of my mom and dad for a giveaway I was running one year on my blog.
I took this photo of my mom and dad for a giveaway I was running one year on my blog. This is one of my favorite photos of them, mostly because I remember Daddy saying, “Come here Izzie. Take a picture with me and Lola.” And she jumped in the swing next to them. He loved all the grandchildren, even the furry ones.
This was taken Thanksgiving 2008 maybe.
I don't know why I love this photo so much. It's just dad wearing his cool fedora.
I don’t know why I love this photo so much. It’s just dad wearing his cool fedora.
The last time I held his hand.


My Book List Updates: Historical Suspense Novels Are My New Obsession

A historical suspense novel by Erik Larson.
Dead Wake: The Last Crossing of the Lusitania by Erik Larson

Well I finally finished Erik Larson’s Dead Wake: The Last Crossing of the Lusitania. This is the first historical suspense novel I’ve read by him but I know it won’t be my last. I have The Devil in the White City waiting for me somewhere in my stack of books in my office.

I think historical crime/suspense novels are now my new favorite genre.

To be honest, I didn’t know much about the Lusitania. I remember learning a little bit about it in high school. My sophomore year history teacher was a World War history buff so we spent the entire first semester on World War I and second semester on World War II.

We briefly touched on the sinking of the Lusitania and how it ushered the United States into The Great War, but we didn’t go into depth about the particular event, so my knowledge on this topic was a blank canvas.

I struggled a lot with the maritime terminology in this book. I don’t know how many times I had to Google words and descriptions that I’d never heard of. Once I got to the part where the Lusitania and the U-boat encounter each other, that’s when the pace picks up quickly.

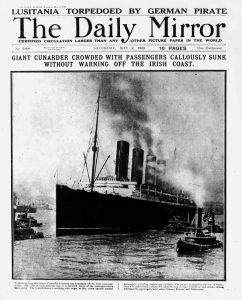
The Daily Mirror reports on the sinking of the RMS Lusitania
News headline from the actual sinking.

Erik Larson is a very talented storyteller when it comes to historical events. Now though I not only have a much greater understanding of the event itself, but I also can sympathize with the victims and their loved ones. If anything, the victims’ stories are rarely touched on in history books, but Mr. Larson truly has a gift for bringing them to life one last time.

His acknowledgements and author notes fascinated me at the end. I’m so amazed that he got to travel to all of these locations while he was researching. And I mean not just to where these things took place, but to the various libraries and museums that kept the artifacts left from the wreckage. He even got to read Schweiger’s captain’s log and look at the photos of the unidentified and unclaimed victims of the Lusitania. To be able to touch a piece of history… to me, that would be a dream come true. That’s really the only way to describe it.

So now I’m moving on to my next book. Rather than reading another Larson novel (which I’m itching to do!) I figured I’ll give one of the other books on my “to-read” stack a chance.

This time it’s In Cold Blood by Truman Capote. The book is about the brutal murder of a small family of four in the small town of Holcomb, Kansas in 1959. There was no motive and almost no clues. 

Instant Ramen Hacks: How to Amp Up Your Ramen Noodle Game

I don’t know when instant ramen got its reputation as being a poor man’s food. Since I’ve lived with Craig, who is an admirable vegetarian, I’ve learned to appreciate ramen’s potential as a healthy and complete meal. Here are a few instant ramen hacks that I’ve picked up that will completely change your view of grocery store ramen noodles.

Your basic packet of instant ramen contains a minimum of 2 things: dried noodles and a seasoning packet. Sometimes there’s more to it, such as an additional seasoning sauce packet, dried seasoning flakes, or seasoning oil. When you’re enhancing your final bowl of ramen, you’ll want to consider 3 additional things: vegetables, proteins, and additional toppings.

Frozen Vegetables for Ramen

Because frozen vegetables are picked at the height of their season, they add nutrients that your instant ramen is seriously lacking. In addition to nutrients, frozen vegetables add much needed fiber. Usually you don’t even have to cook the vegetables before putting them into the hot broth. You can just pour them right in and allow the heat of the broth to bring them up to temperature. Below is a list of frozen vegetables you can find in your local grocer’s freezer:

Instant Ramen Hacks: Buttered Corn
Corn is one of the most popular ramen toppings. You’ll find it on the menus of almost every ramen shop along the west coast. This requires almost no prep time, unless you want it buttered before adding to your bowl. In that case, you would put your desired amount of corn into a separate microwaveable bowl with a tablespoon of butter and nuke it for about 30 seconds or until the corn is defrosted and the butter is melted.
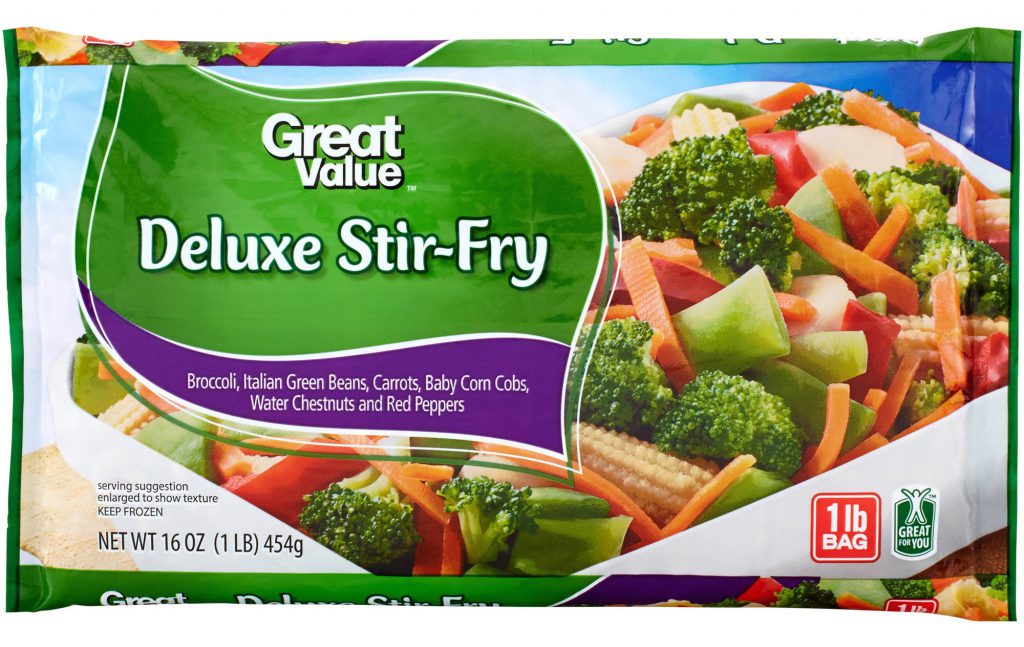
Instant Ramen Hacks: Frozen Stir Fried Vegetables
The frozen asian vegetable mix is Craig’s favorite. He adds it to his ramen, still frozen, and then turns off the heat. The hot broth warms up the vegetables and defrosts them, but they still remain crispy and perfectly cooked. Then he’ll season it with sriracha and maybe a dash of soy sauce.
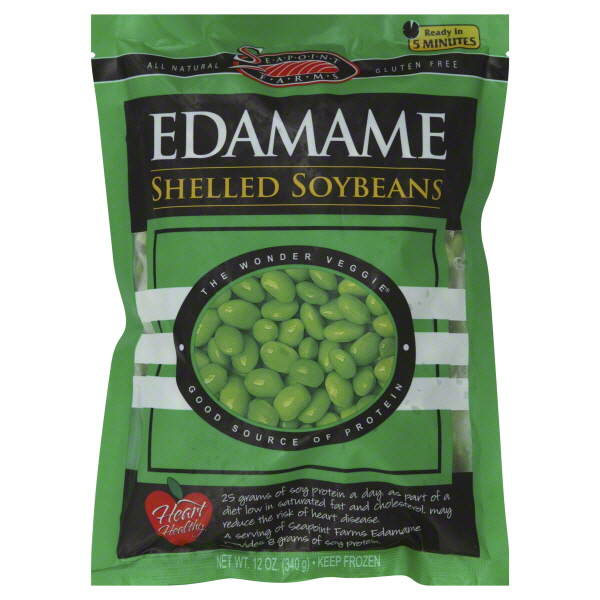
Instant Ramen Hacks: Frozen Shelled Edamame
A half-cup serving of shelled edamame boasts 9 grams of fiber, 13 grams of carbs, and 11 grams of protein. That can be significant if you’re looking for healthy vegetable options. Like corn and other mixed vegetables, this really doesn’t require much cook time. All you do is just add it to the hot pot and stir until thawed.

Fresh Vegetables for Ramen

Don’t forget about the fresh produce section of your supermarket. Fresh vegetables can be just as convenient to any bowl of ramen as frozen vegetables, especially if you choose in-season vegetables or vegetables that grow year round. Here are a few vegetable suggestions that you can find at your local grocery store.

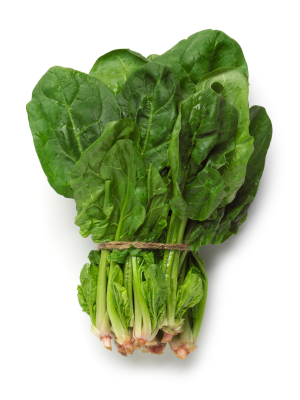
spinach
Fresh, tender greens such as spinach, napa cabbage, and baby bok choy add color and nutrients to your instant ramen bowl. They require minimal prep and cook time, just wash thoroughly. Cut into bite sized pieces and then place into the bottom of your serving bowl. Pour your hot ramen broth over the leaves and allow to cook for a few minutes.
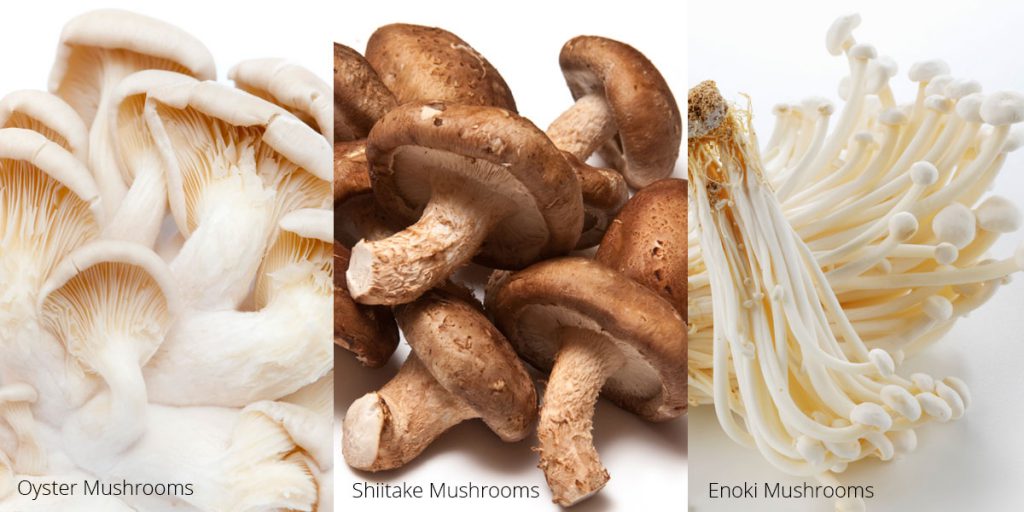
mushroom-assortment
Sliced mushrooms such as shitake, enoke, or oyster. You can purchase these mushrooms at Asian markets, but if you you don’t have a market near you, white mushrooms will be fine. Baby bellas or cremini mushrooms are good too, but in my opinion impart a different flavor.

Proteins

When it comes to instant ramen hacks, a bowl of ramen wouldn’t be complete without protein. No matter what your dietary preferences are, there are a variety of protein sources available that make a great addition to ramen noodle dishes.

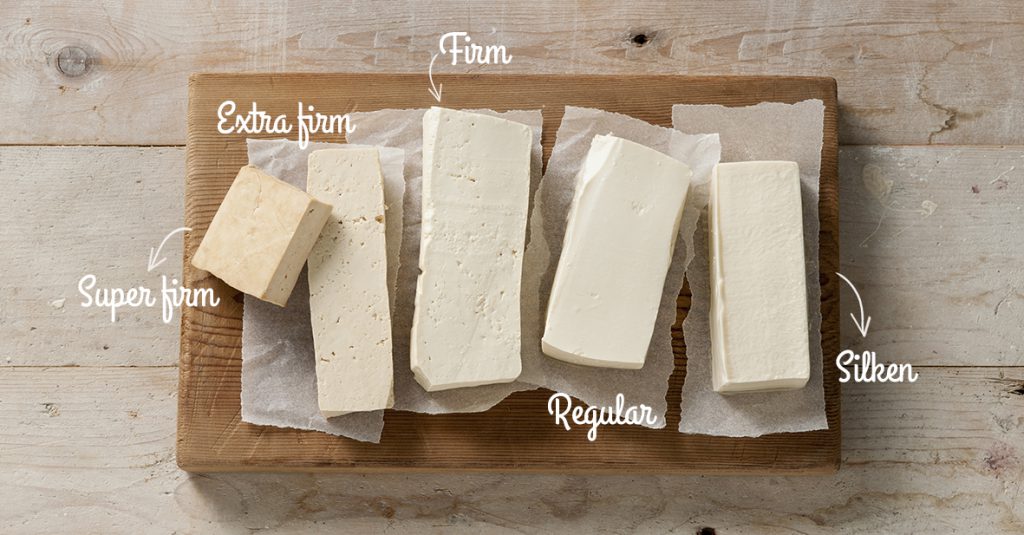
Pictured above are different types of tofu. For soups, I usually use soft tofu since it has a more subtle, delicate flavor. Photo from Tofupedia.com.
Pictured above are different types of tofu (visit Tofupedia for more information). For soups, I usually use soft tofu since it has a more subtle, delicate flavor. Photo from Tofupedia.com.
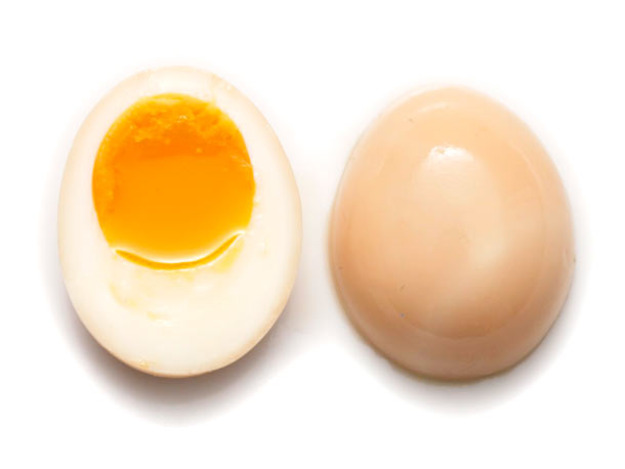
Ajitsuke Tamago (marinated soft boiled egg) is another common accompaniment to home made ramen if you happen to have all the ingredients. Even if you don't, regular hard or soft boiled eggs will do just fine.
Ajitsuke Tamago (marinated soft boiled egg) is another common accompaniment to home made ramen if you happen to have all the ingredients. Even if you don’t, regular hard or soft boiled eggs will do just fine.
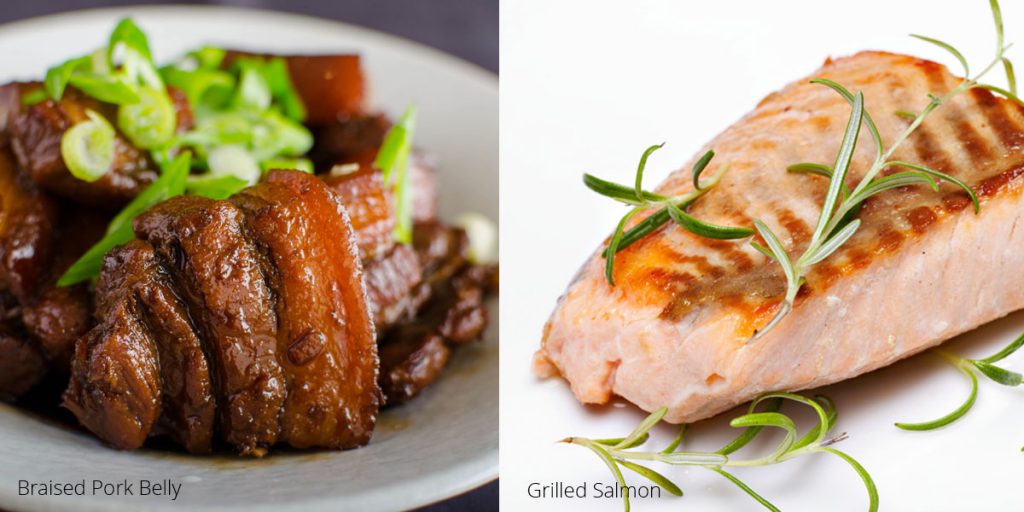
And for the non-vegetarians, your protein options are much broader. Braised pork is often the meat of choice for a hearty bowl of ramen, while grilled or baked salmon is good too.

Seasonings

When I talk about seasonings, I’m talking about more than just your typical salt and pepper mix. I’m talking about that magical word you hear sometimes called umami. We often associate umami with glutamates and categorize it with the different tastes. Not everything listed below falls into the umami category, however their unique flavors can elevate your grocery-store ramen to the next level. Seasonings are high on the list of necessary instant ramen hacks.

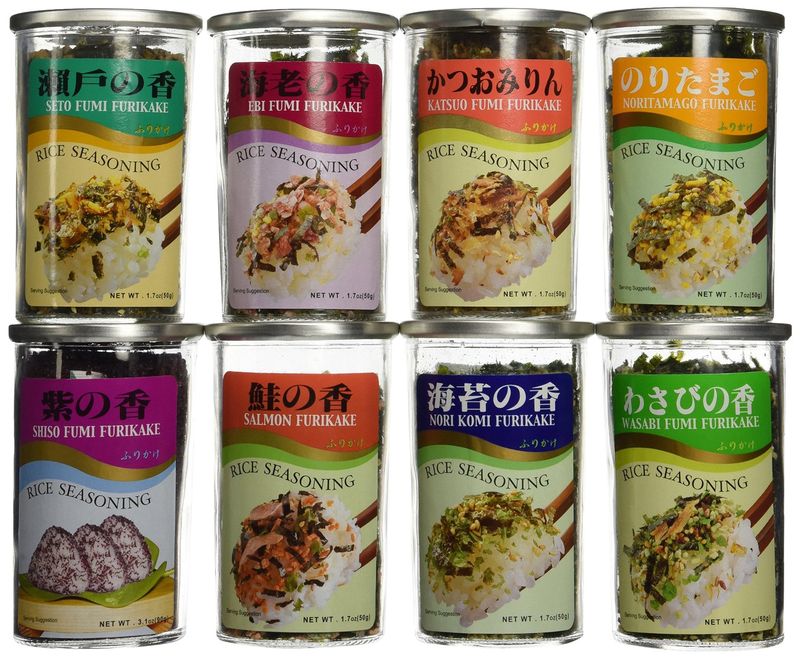
Furikake is actually a rice seasoning made of a mix of shredded nori, dried wasabi, and other dried ingredients. You can purchase them in spice-sized glass jars from Asian markets. I buy the JFC brand I like the flavors they offer and they're easy to find. You can also make your own at home from various recipes.
Furikake is actually a rice seasoning made of a mix of shredded nori, dried wasabi, and other dried ingredients. You can purchase them in spice-sized glass jars from Asian markets. I buy the JFC brand I like the flavors they offer and they’re easy to find. You can also make your own at home from various recipes.
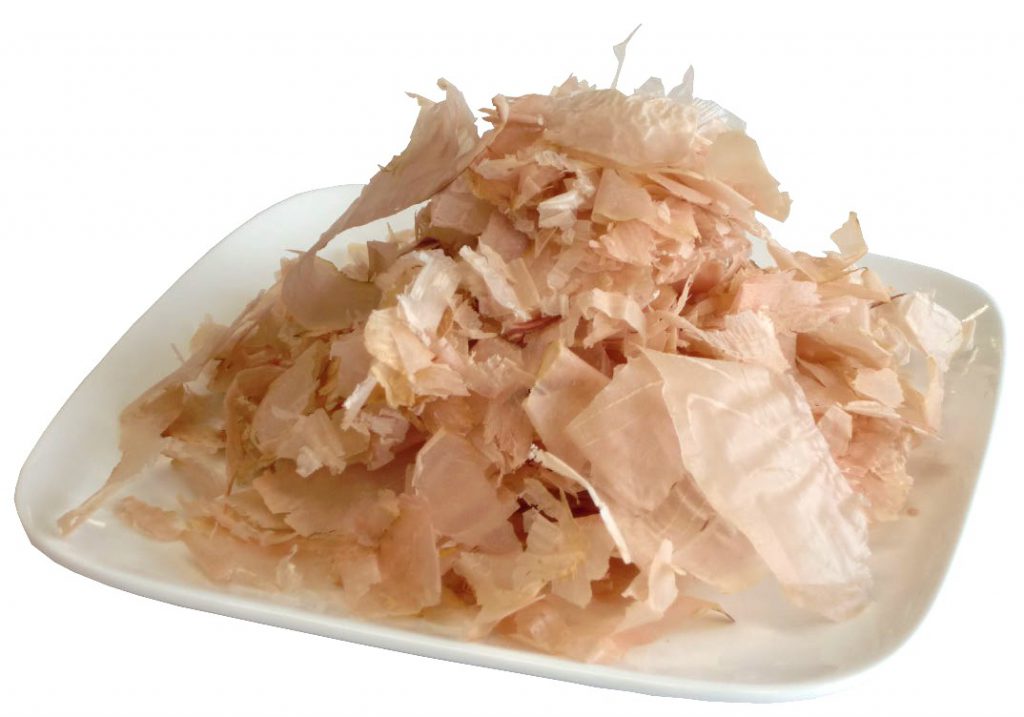
Bonito flakes are slices of dried and thinly shaved fish. They're not just paper thin, they're tissue paper thin. They're packed with meaty, slightly salty flavor and make a great topping for ramen (in moderation). You definitely don't want to overdo it because it can really overpower a dish.
Bonito flakes are slices of dried and thinly shaved fish. They’re not just paper thin, they’re tissue paper thin. They’re packed with meaty, slightly salty flavor and make a great topping for ramen (in moderation). You definitely don’t want to overdo it because it can really overpower a dish.
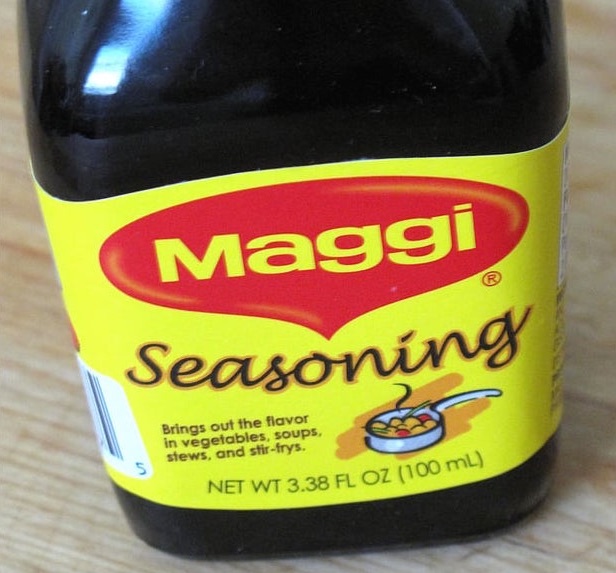
An old friend introduced me to Maggi seasoning sauce. I've seen it before, but I've never tasted it. It's kinda like soy sauce, but not quite. In fact this is comprised of the "glutamates" I mentioned earlier when I mentioned umami. And really you only need a few drops--it's that powerful. Not only is it great in soups, but I love sprinkling it on eggs and tomatoes. Delicious!
An old friend introduced me to Maggi seasoning sauce. I’ve seen it before, but I’ve never tasted it. It’s kinda like soy sauce, but not quite. In fact this is comprised of the “glutamates” I mentioned earlier when I mentioned umami. And really you only need a few drops–it’s that powerful. Not only is it great in soups, but I love sprinkling it on eggs and tomatoes. Delicious!

Here’s an extended list of some more seasonings I recommend adding to your pantry list. They’re not only great instant ramen hacks, but they amp up other Asian dishes and stir fries as well.

  • Seasoned seaweed sheets or shreds
  • Toasted garlic
  • Fish sauce
  • Maggi Seasoning Sauce
  • Toasted sesame oil
  • Toasted sesame seed
  • Chopped green onion
  • Canned or frozen broth (in place of the seasoning packet)**

Have a Delicious Inexpensive Meal Anytime With These Simple Instant Ramen Hacks

The great thing about a lot of the ingredients I listed is they can stay on your shelf or in your freezer for several weeks, even months. Once you begin to build up your stash of homemade ramen pantry items, you’ll be able to create a quick meal any day of the week in a matter of minutes.

** Indicates healthier option.